Cut a cactus shape out of three sheets of green-colored paper. Stack the sheets of paper together. Draw a cactus shape, then cut it out. You want the shapes to be as close to each other as possible, so be sure to cut through all the sheets of paper at the same time. Cut a circle from the center of one of the cacti shapes. Fold the circle in half lengthwise, and cut the other half into two equal pieces.
Repeat this process with the remaining two pieces, making sure that you cut all the way through the middle of each piece. You should end up with two circles, one on each side, that are about the size of a golf ball. Now, fold the two halves together, so that they form a triangle. This is the shape you will use to make your “cactus” shape.
Cut the triangle into four equal parts, each of which should be about 1/4 of an inch in diameter. Place the triangles on a flat surface, such as a piece of cardboard or a sheet of plywood. Use a sharp pair of scissors to carefully cut out the four pieces of triangle, leaving about a 1-inch gap between each one.
Table of Contents
What is the hardest origami?
The most difficult design he has ever folded is the origami ancient dragon, which took around 16,000 hours to fold. “It’s the most difficult origami I’ve ever done,” .
Is origami good for your brain?
It requires hand-eye coordination, develops fine-motor skills and supports mental concentration – all of which stimulate the brain. The motor and visual areas of the child’s brain are stimulated when they follow instructions. It strengthens the muscles, bones and connective tissues of your body. It also strengthens your immune system, which helps you fight off infections.
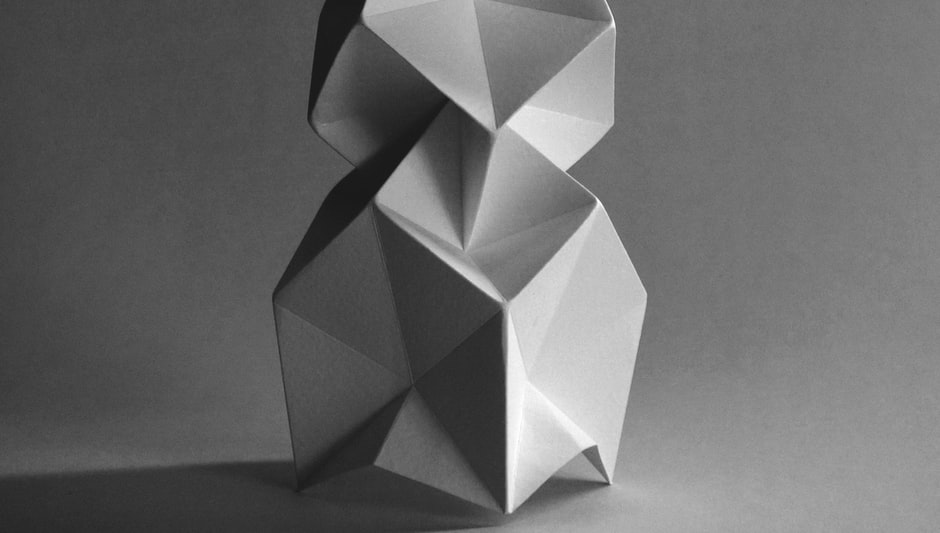
Is 3D an origami?
Many of the origami creations have a 3d structure composed of curved surfaces. The background theory behind all the creations is very easy to understand. The author shows how different forms are created from the same starting point. Origami is the art of folding paper into shapes.
Origami has been around for thousands of years, but it is only in the last few decades that it has become a popular art form. In this book, you will learn how to fold paper in a variety of different ways, from simple to complex.
You will also learn about the basic principles of paper folding, such as how the paper is folded and how it can be used to make many different kinds of objects.
What age is origami appropriate for?
Origami is a Japanese art form that involves folding paper into shapes and then folding them back together again. Origami has been around for thousands of years, but it was only in the 19th century that it became popular in Japan. In the early 1900s, the Japanese government began to promote the art as a means of teaching children to read and write.
What age is origami for?
A child as young as 4 years old is capable of folding paper if an adult is nearby. A child can fold a paper airplane at 8 years old if they know how to do it.
At 10 years of age, the child is able to read and write, and at 12 years, he or she can read, write and play with other children of his or her age group.
The child’s ability to learn and retain information is also enhanced by the presence of a parent or other adult who can help guide and encourage the development of language skills.
What is the easiest origami animal?
The origami cat face is the easiest to make. You can change it to be a dog, bear, rabbit, or any other animal you want. Fold the paper in half lengthwise and then fold the other half into a triangle shape. You can also use a ruler to help you with this step. Make a small hole in the middle of the triangle.
Make sure that the hole is big enough to fit your cat’s head, but not so big that it will block the view of your paper. The hole should be at least 1cm (0.4in) in diameter. If you don’t have a hole this big, then you will have to cut a piece of paper smaller than the one you are using to make the face and glue it to the inside of a cardboard box.
Step 3: Glue your face onto the cardboard face, making sure to leave a little bit of space between the two pieces of cardboard. Do not glue too tightly, as this will make it difficult to remove the glue once it dries. Once you have done this, it is now ready to be cut out.