Lay the leaf vein side down on the paper. Place a paper towel over the leaf, and pound with a hammer until you can see the color and shape of the leaf come through the paper towel. It will take a while to hit every part of the leaf. To reveal the stem, carefully remove the towel and leaf. Pieces. Using a sharp knife, cut a piece of leaf stem into smaller pieces.
You want to make sure that each piece is about the same size as the other pieces, so that you don’t end up with too many pieces that are too big or too small. Be careful not to cut too deep, or you’ll have to start over with the next piece. Once you’ve cut the pieces to the size you want, place them on a cutting board and use a knife to slice them in half lengthwise.
This will make it easier to separate the leaves from the stems. If you’re using a mandoline, be sure to use the sharpest blade you have, as it will be the most accurate. Cut each half into small pieces about 1/4 inch in diameter. Use a pair of tweezers to hold each leaf piece in place while you cut them.
Table of Contents
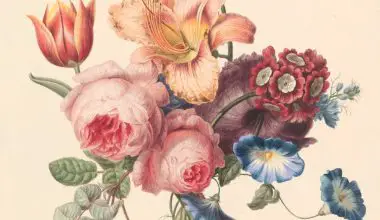
What does botanical print mean?
Botanical illustration is the art of depicting the form, color, and details of plant species, frequently in watercolor paintings. They can be printed with a botanical description in books, magazines, and other media, or sold as a limited edition print.
What paint to use for printing on fabric?
Any good quality water-based paint will suffice. I had to mix up a custom colour after using some left-over craft paints. You wouldn’t require a paintbrush if you used specialty fabric paint or ink. This step is optional, but if you don’t want to paint it, you can just leave it as it is.
The colour you choose will depend on the type of base you are using. For this tutorial, I am using a white base, so I will be using the white paint for this step. Once you have your base painted, it’s time to add some detail to it by adding some details to the top and sides of your model.
These details will make the model stand out from the background and give it a more detailed look. To add details, use the same method as you would for adding details on a model, except this time you will add the details in a different way. In this case, we are going to use an airbrush.
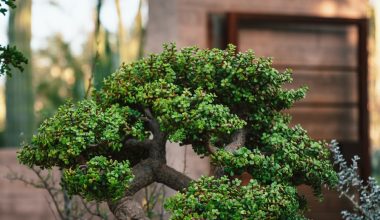
What do you need for eco printing?
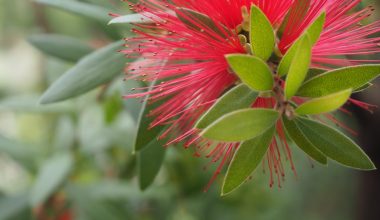
Oak leaves are a good option for printing. Japanese maple leaves and Barks are also great choices. You can experiment and see what works best for you. It is a great way to get a variety of plants. If you’re looking for something a little more permanent, you can make your own composting toilet paper.
It’s easy to make and can be used for a number of different purposes. You can use it to cover your compost pile, or it can also be placed in a compost bin and used as mulch.
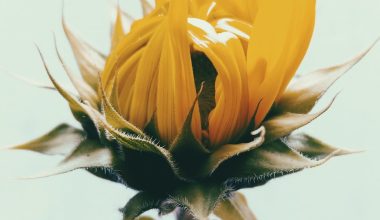
How do you press flowers without turning brown?
Clean any dirt remaining on the flower with a moist cloth. To make the pressing process easier, thicker flowers need to be cut in half. If you have flowers that are not perfect, put them in a vase of water. They are ready for pressing when they come back to life.
Once the flowers have been pressed, place them on a baking tray lined with baking paper. Cover the tray with cling film and place in the oven at 180°C (350°F) for 20-25 minutes, or until the tops are golden brown and the bottoms are firm to the touch.
Are botanical prints worth anything?
Antique botanical prints are well priced, from 40.00 to over 100.00 for really rare examples> They are a wonderful way to add antique art to your home decor!. They can be hung on a wall in your living room or bedroom and look beautiful framed.
They can also be used as a gift for a friend or loved one. We have a large selection of antique Botanical Prints for you to choose from.