A wildflower seed mixture works well if you use different types of flower seeds. Cut each sheet of color paper into 1-inch squares and add 1.5 to 2 cups of water to blend until the paper is pulverized to make paper pulp. Put the water out of the mixture and use a food processor to puree it.
Blend the pulp into a smooth paste. Place the paste on a parchment paper-lined baking sheet. Remove from the oven and allow to cool completely before using. Store in an airtight container in the refrigerator for up to 3 days.
Table of Contents
Do you need clay for seed bombs?
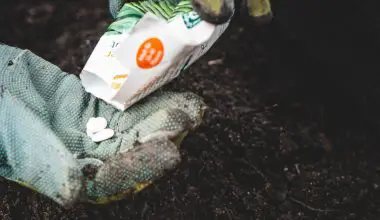
In a bowl, mix together 1 cup of seeds with 5 cups of compost and 2-3 cups of clay powder (you could use clay soil instead if you have it). Slowly mix in the water with your hands. The mixture should be rolled into firm balls. The balls should be left in a sunny place for a couple of hours.
Once the seeds have dried, you can use them to make your own seed bombs. You’ll need to add a little bit of water to the mix to get it to stick together, but once it does, it’s ready to use.
Can you make seed bombs with flour?
I mix up 2 cups of flour, 1 cup of compost, 2 packets of wild flour seeds and a cup of water for a bomb. If it is too wet, I add more flour and water. Consistency is what you want to get from a good amount of breadcrumbs. Mix the flour and compost together in a large mixing bowl. Add the seeds, water and mix well.
The mixture should be very wet, but not wet enough to stick to the sides of the bowl, so that it can be easily scooped out with a spoon. It should also be sticky enough that you can scoop it out easily with your hands. I like to use my hands to scoop out the dough, as it makes it easier to work with.
Once the mixture has been mixed well, add the water a little at a time, mixing well after each addition, until you have a dough that is soft and pliable. This will take about an hour or so, depending on how wet or dry you want your dough to be.
How do you make seed dirt balls?
Slowly add water and mix the seeds, soil, and water into a paste. You are ready to plant when you can form a ball of the blended material without it falling apart.
What seeds are used for seed balls?
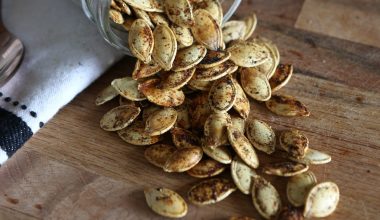
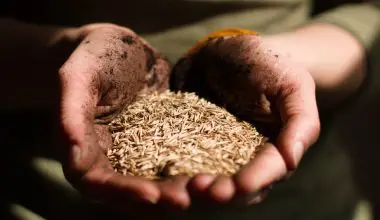
Some of my favorite seeds for seed bombs include: wildflowers (native to your area), alyssum, lobelia, butterfly milkweed, scarlet sage, sunflower, basil, cilantro, lettuce or tomatoes all of which grow easily from seed. It’s very easy to put together your seed balls. Pick your seeds. I like to pick my seeds in the fall when the weather is warm and the leaves are starting to turn brown. You can also pick them in early spring when they are still green.
If you are going to plant them indoors, you will want to wait until the seeds are at least a month old before planting them outdoors. This will give the plants time to germinate and grow into their full potential. Once you have picked the seed, place it in a plastic bag and seal it with a rubber band. Place the bag in an airtight container and let it sit at room temperature for a couple of days.
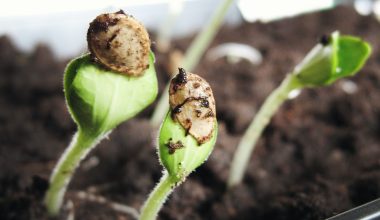
The seeds will begin to sprout and you can remove them from the container once they have sprouted a few inches. They will continue to grow until they reach a height of 2-3 inches and then they will be ready to be planted in your garden.
How long do seed bombs last?
No, you don’t need to do anything. The seed ball will start to grow as a cluster of plants, but as the clay starts to break down, it will be dispersed. I don’t know how long my tin of seed balls will last. They will keep well for planting the next few years if they are stored in a cool, dry place.
They can be stored for up to a year in an airtight container. You can store your seeds in the same way you would store any other seed. Place the seeds into a plastic bag, seal it tightly, and store it in your refrigerator. The seeds will continue to germinate and sprout as long as you keep them in their bag.
If you want to store them for a longer period of time, place the bag into the freezer for several hours or overnight, then remove it from the refrigerator and allow it to thaw. Seeds can also be kept in sealed plastic bags, which will last longer than a bag of seeds.
Do seed bombs with paper work?
While seed balls made with clay and compost can be thrown on the soil surface and will sprout, seed balls made with recycled paper work best when planted in pots beneath a thin layer of potting soil. The shapes and colors make planting a fun project.
Do paper seed balls work?
The short answer is yes, but only if you follow the instructions. A beebomb is a great way to start a wildflower patch or meadow in your garden, but you have to add a base in the form of compost and clay to make it easier for the seeds to grow.
If you want to use a seed bomb, however, you’ll need to make sure that the soil you’re using is rich in organic matter, and that it’s not too dry or too wet. Seed bombs work best when they’re planted in moist, well-drained soil that has a pH of between 6.5 and 8.
Seed bombs can also be planted directly into the ground, although this is not recommended because it can lead to root rot, which is a serious problem for wildflowers. The best time to plant seeds is in late spring or early summer, when the weather is warm enough for seed germination to take place.
This is also the time of year when seedlings are most susceptible to disease.
Can you make seed bombs with paper?
Seed bombs made from recycled paper will inspire your imagination. Creative gifts, party favors, or an inspiring gift for a loved one can be made out of seed bombs and seed paper.
What are seed bombs made of?
A seed bomb is a ball made of compost mixed with flour and water. The bomb will break apart once the seeds have begun to grow. The base for the seeds to grow into a plant will be provided by the soil. Seed bombs can be used in a variety of ways, but the most common method is to throw the seed into the ground and wait for it to sprout.
Seeds can also be planted directly in the soil, which is known as seed-to-soil transplanting. In this method, seeds are planted in soil that has already been fertilized with fertilizer, and then the fertilizer is applied to the roots of the plants. This method has the advantage of not requiring the use of pesticides or fertilizers.