Kmara takes about 120-150 days from planting to harvest. Once the leaves start to yellow, you should harvest. Pull kumara carefully using a pair of pliers to remove the stems and leaves. Kumaras can be grown in a wide range of climates, but are best suited to cool, moist, well-drained soils. They are also very drought-tolerant, so they can grow well in areas with little or no rainfall.
Table of Contents
Can you eat kumara straight from the garden?
Kumara greens are edible, by the way – they taste like spinach. Your cow or goat will love them too. Put your fork in the soil to loosen it, then get in with your hands and remove the dirt to reveal the greens. Once you’ve got a good amount of dirt, it’s time to mix it with the rest of the ingredients.
You can do this by hand, or you can use a food processor. I prefer the latter, as it makes it much easier to work with, but if you don’t have one, you’ll just have to use your fingers. Once you have the mix, pour it into a large mixing bowl and stir it around until everything is well-combined.
This will take a few minutes, depending on how much dirt you used, so make sure you’re not over-mixing it. If you are, your mix will be too thick and you won’t be able to spread it out evenly on the baking sheet. Just keep stirring and mixing until you get the consistency you want.
How do you store kumara after harvesting?
To store kumara properly and keep their quality, store them in a dark place. Wrap storage paper before storing as this will extend their lifespan in storage. If it is too humid, they are more at risk of mold and mildew growth.
Can you grow kumara all year round?
In warmer areas kumara can be planted from August to December. You should wait until the general risk of frosts has passed before planting in cooler areas. Planting in the spring is a good idea if you want to get the most out of the plant.
If you plant in early spring, you’ll have plenty of time to plant the next year’s crop. You’ll also be able to see how the plants are doing and see if they need to be pruned back.
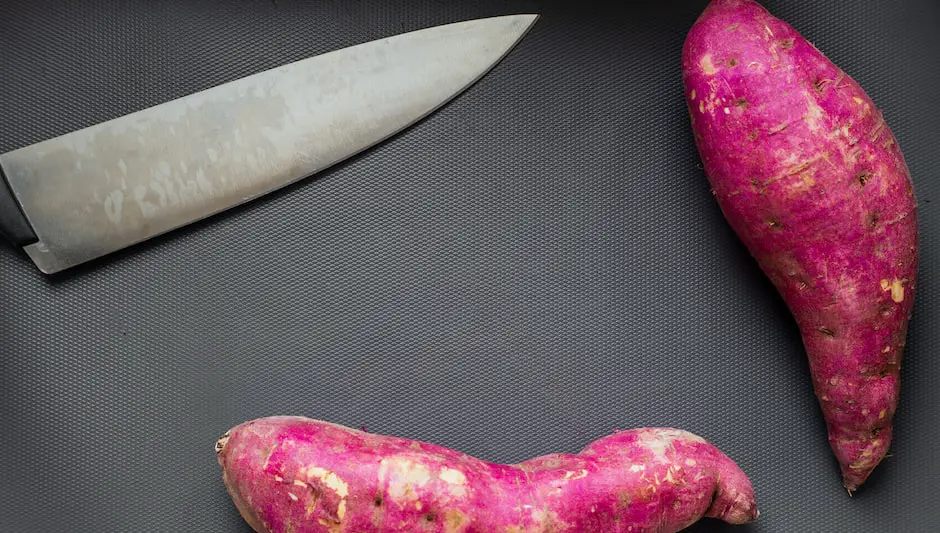
How do you know when sweet potatoes are ready to dig up?
Sweet potato varieties are ready to harvest 95 to 120 days after planting in the garden. When the leaves turn slightly yellow they are usually ready to harvest. Extra care must be taken when harvesting sweet potatoes because they are easy to damage. Sweet potatoes can be grown in a wide variety of soil types, from sandy loam to sandy clay.
The soil should be moist but not soggy. It should also be rich in organic matter, such as compost, peat moss, or manure. If the soil is too dry or too wet, the sweet potato will not be able to grow properly and will be stunted.
How do you know when it’s time to dig up your sweet potatoes?
Sweet potatoes can be very sensitive to cold temperatures. The roots should be taken by the time the vines are killed. Until frost kills the plant, sweet potato roots will continue to grow. Sweet potato is a member of the Solanaceae family. It is native to Central and South America, but has been introduced into the United States since the early 1900s. U.S., it is grown for its sweet, nutty flavor and texture.
How many kumara do you get from one plant?
Each bedded seed root produces around 30-40 plants in a meticulously prepared plant bed. Seed kumara is carefully selected for its high yield, quality taste and correct skin. The seed is sown in the spring, and the plants are harvested in late summer or early fall, depending on the weather conditions. The seedlings are then transplanted into the soil and allowed to grow for a minimum of two years before harvesting.
What do you do with kumara leaves?
Kumara leaves can be found from specialist greengrocers, farmers’ markets, and growers. They are great in smoothies, stir-fries or sautéed with garlic and combined with a little coconut cream. The kumara leaves are more expensive than the zinnia leaves in this recipe.
If you want to make your own spinach leaves, you can buy them pre-cut from the produce section of your local supermarket. You can also make them at home using a food processor or blender.