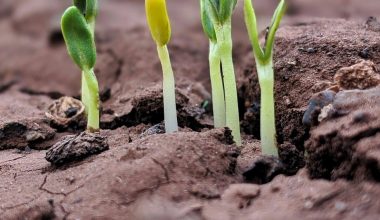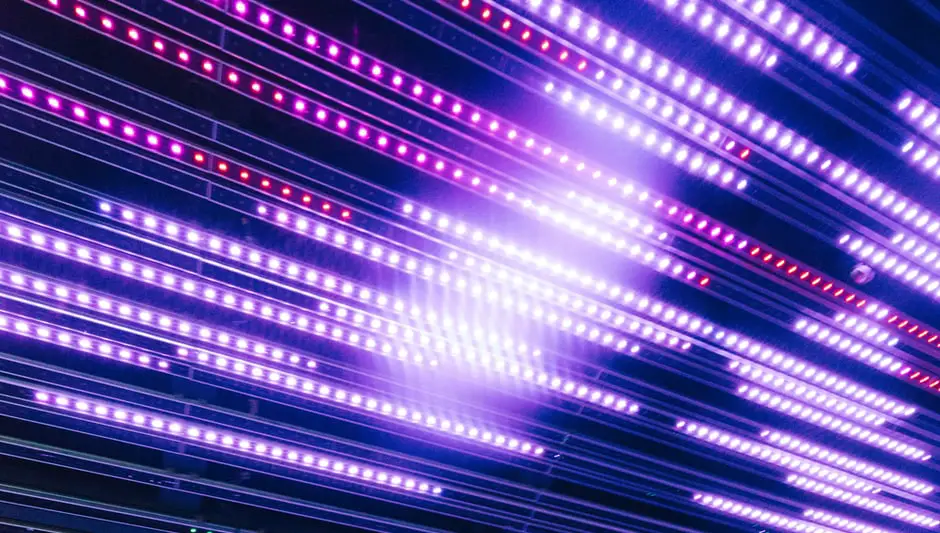
Making your own LED grow light is a cheaper alternative to buying a new one. You can choose the light that is right for you and your plants. LED grow lights come in a wide variety of colors and wattages. You can also choose from different types of bulbs, such as incandescent, halogen, fluorescent, and LED.
Table of Contents
Can you build your own grow light?
The easiest way to build a grow light system is to buy a shelving unit. You should look for a unit that is easy to assemble. It is possible to attach grow lights to a wire shelving unit without the need for tools.
If you don’t have access to a shelf unit, you can use a piece of plywood or other material to make a light fixture. You’ll need to drill a hole in the center of the material so that the light can fit through the hole.
How do you clean Quantum board grow lights?
It is recommended that IPA (Isopropyl Alcohol) be used as a solvent for cleaning the LED Lighting Modules. Before using other solvents, it is important to confirm that they won’t ruin the package and the resin. Because of the possibility of damage to the LEDs, freon should not be used to clean them.
What is a quantum board led?
In simple words, Quantum boards are small pieces of boards that are lined up with the LED chips. The chips are spread all over the board. They can get their power supply from the board and the LEDs at the same time. The board is then connected to the Raspberry Pi’s GPIO pins. The board can also be connected directly to an Arduino Uno, Mega, or any other microcontroller that has an I2C interface.
Can any LED light be used as a grow light?
Technically, yes you can use any LED lights to grow plant, but that doesn’t ensure your plants will grow healthy or efficiently, as regular LED lights will not contain enough color or intensity to produce the same amount of light as a regular light bulb.
Can you use LED strips as grow lights?
LED strip lights can be used as your sole growing lights or part of a more complex setup. Allowing you more accurate control of your growth lighting position can be highly beneficial. Plants will get the light they need to grow well if you have a full-color spectrum.
LED strips are available in a wide range of colors, including white, blue, red, green, yellow, orange, pink, purple, and more. You can choose from a variety of wattage options, ranging from 100W to 300W. The LED strips also come with a built-in timer, so you don’t have to worry about your plants getting too hot or too cold.
What can I use instead of a grow light?
Fluorescent lights are the most economical and easy to use. They’re cool enough to put in the corner of your living room, and they come in tubes or compact bulbs that screw into regular lamp sockets. But fluorescent lights aren’t the only option. You can also use incandescent bulbs, which are much more energy-efficient than CFLs, but they don’t last as long.
If you want to save money, you can use LED lights. LED bulbs are brighter and last a lot longer than fluorescent ones, so you’ll be able to use them for a long time without having to replace them every few years. LEDs are also more environmentally friendly, since they use less energy and produce less heat than traditional bulbs.
Can you wash LEDs?
Due to health and environmental issues, cleansing solutions with chlorofluoro-carbons should not be used. When wet, the LEDs must be cleaned in an unpowered state. LEDs should be washed in a non-aqueous solution, such as distilled water, and then rinsed thoroughly with clean water. The LED should then be dried with a soft cloth or paper towel. If the LED is to be re-used, it should also be dry-cleaned in the same manner.
What diodes do HLG use?
They are designed to be used in a wide range of applications, from low-power microcontrollers to high-performance microprocessors. The boards are available in two versions, the D1 and D2, which are identical except for the color of the LEDs and the number of LEDs on the board. Both versions have the same footprint and are compatible with the Arduino Uno, Duemilanove, Mega, and BeagleBone Black.
D1 Quantum Board The first version of this board is available as a kit with all the components. This version has a smaller footprint than the other versions and is designed for use with a microcontroller such as the Atmel ATmega328P or the ATtiny85. It also has the ability to connect to a PC via USB, so you can use it with your favorite programming language.
How do you wire a Meanwell driver?
The 3-core cable needs to be connected to the correct connection. The blue and brown cables should be connected to the L and N connections, respectively. The Symbol cable is connected by the Green/Yellow. Now that you have all the cables connected, it’s time to put them all together. First, you’ll need to remove the two screws that hold the cable in place.
You can do this with a flat head screwdriver, or you can use a pair of needle-nose pliers. Be careful not to pull too hard, as you don’t want to damage the connectors. If you do damage them, just pull them out and replace them with new ones. Once you’re done with the wiring, put everything back together and plug it into your computer.